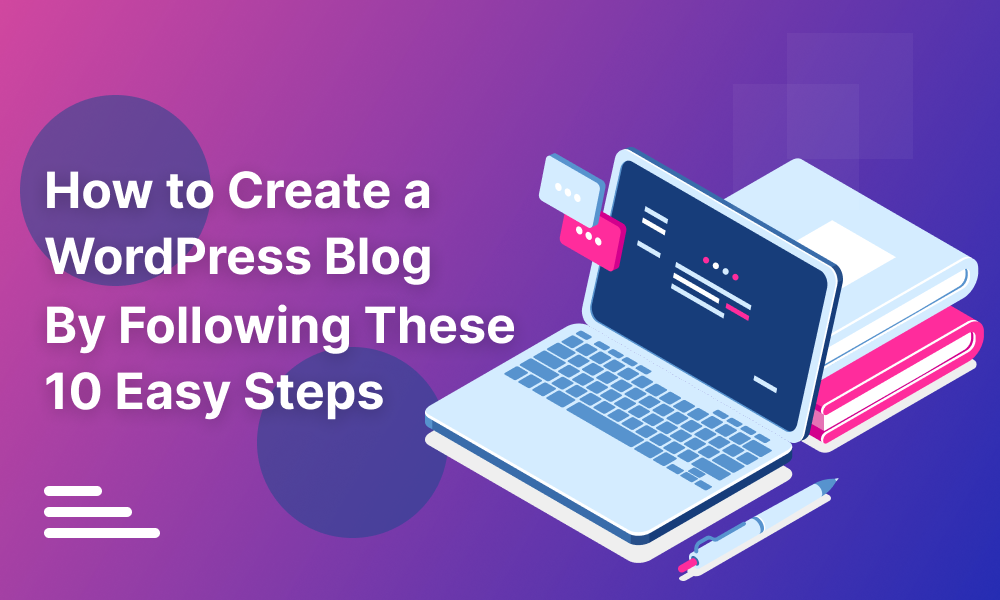
Learning How to Create a WordPress Blog by Following These 10 Easy Steps
When you’re selling in the digital space, you need to take every opportunity you can get to get your product out there. Some of the ways you can increase your online presence are by sharing on social platforms and maintaining a brand website.
Your website serves as a central brand hub that can provide information about your brand and products. At the same time, you can use social media platforms like Facebook, Twitter, and Instagram to build a community and interact with your target market. Setting up social media accounts is pretty straightforward. On the other hand, building and maintaining a website will require more time and effort.
So, if you’re a marketer or business owner who wants to start blogging on sites like WordPress but don’t know where to start, we’ve got you covered. We’ll show you how to launch your WordPress site in ten easy steps:
Table of Contents
1. Choose a domain name that is timeless and best reflects your brand
One of the first few things to do when creating a WordPress blog is securing a domain name to go with your website. As an Amazon FBA seller, choose a domain that’s easy to remember and/or reflective of your brand to increase recall and recognition for your target audience. Similar to a brand name, you’ll know that you’ve selected a good one if it leaves a lasting impact on your audience.
Another thing to know about your website’s domain name is how it affects SEO. Therefore, we suggest (if possible) incorporating your brand or product name in your domain. For example, if you’re selling watches, it’s a good idea to include the term ‘watch’ as a keyword in your web address. Doing this will help increase your organic searchability for a particular keyword when searched.
Here are some tips for choosing a domain name for your website:
- Use either a .com, .net, or .org. These are the most popular top-level domains for legitimate and authoritative websites.
- Avoid hyphens and numbers since it may lead to confusion.
- Avoid short-term trendy names. Instead, think about a long-lasting name that can reflect your brand through time.
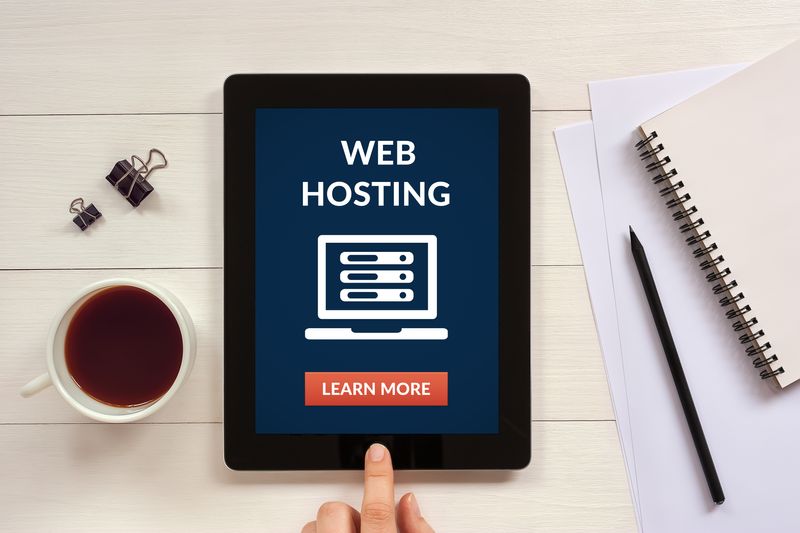
2. Sign up for a web hosting service
A web hosting service is what powers and will help with speeding up your WordPress website. You’ll need this to ensure your store stays running 24/7 with up-to-date information. Without a reliable hosting service, your website can experience site crashes – this is especially true if you’re expecting heavy web traffic due to promotions and sales. Keep in mind that personal blogs and other smaller businesses can rely on WordPress to power your website without a hosting service. If you don’t fall under that category, consider looking into a third-party host.
When you start building your WordPress website, look into reliable hosting services. There are a lot of available web hosting services out there, so choose wisely. Keep reading for tips on how to decide the best one for your business.
Consider the uptime they can provide
Uptime is how long the hosting service can guarantee your website will stay running through the day. Values closest to 100% mean it will run for the majority of a day. Due to everyday fluctuations, a 100% uptime will be challenging to obtain. A 95% uptime is a perfectly acceptable and impressive number to consider.
Know your website’s monthly traffic
Since most web hosting services package their services based on your site’s monthly traffic, try to get an estimate of this data for your website. Although the host won’t block people from seeing your store, you may be charged for the excess traffic not covered in your chosen package.
So before you select a hosting web service, it’s best that you already have a clue on how much monthly traffic you’re expecting. If you don’t have this information handy, overestimating is better than underestimating in this case.
3. Install the WordPress software and log in to the website
After you’ve decided on a web hosting service and domain, you can begin installing WordPress on your website. Some hosting services, such as BlueHost, let you install it automatically, but if yours does not have automatic installation, you can use third-party tools such as Fantastico.
You can still choose to install WordPress by following instructions manually:
- Download the WordPress package file and unzip it.
- On your web server, create a database for WordPress. Include all users who will have privileges on accessing your site.
- On your web server, upload the WordPress files in your desired location.
- Run the script by accessing the URL in your web browser.
4. Choose your site’s title and tagline
In addition to your domain name, consider adopting a catchy title and tagline for your brand and website. All of these should align with your brand and message for your audience.
These elements immediately speak for your brand and are vital parts of your branding process and how you communicate with your target audience.
So if you’re currently choosing the appropriate site title and tagline, here are some tips for you on how you can come up with your own fresh ideas.
How to build a site title for your website:
- Use words that best describe your brand or what you do. Be as honest and accurate with your title. The last thing you want is to mislead your target audience through your titles.
- Keep the title short and under approximately 66 characters as much as possible. It should be to the point and memorable.
- Incorporate the main keyword you want to rank for into your title or tagline.
- Don’t forget always to include your brand’s name in the title.
- Consider using a word generator if you’re running out of ideas on how to name it. List down the suggestions and see which works best for you.
How to build a site tagline for your website:
- The tagline should be short but catchy. You know you have a good tagline if your audience can recognize your brand or product by the tagline.
- It should be related to your website’s title.
- Use active voice instead of passive voice.
- Incorporate powerful words such as expert, best, master, and the like.
5. Create a new post to start blogging on your new WordPress site
Now that you have your WordPress website, the next thing to do is fill it with posts. This is where you’ll add content and exert a lot of time and effort to create high-quality posts. It might get a bit overwhelming to put out enough content, but you can manage it by building out a content plan.
A content plan is an organized way to manage your content. It allows you to plan out your content strategically before you post. You can also use it to manage your topics, plan out the schedule for your posts, and organize it in a manner that best suits your team’s productivity styles. It’s a great way to create a system and stay on track with your website’s content.
If you’re stuck in writer’s block and don’t know what content to post about, here are some ideas to help you get started:
- Instructions on how to best use your product
- Information about how you developed your product (material, ingredients)
- Guest posts from experts in your industry
- Reviews from your customers that reflect a positive experience with your product
- Benefits of your products, how it exceeds your competitors
- A story about how yourself and how you began your business
- Answer frequently asked questions about your product
These topics are a great way to start but don’t feel limited to posting content about your products. Instead, widen your reach and engagement further by diversifying the topics on your blog. When you include content related to your product and industry, more people can come across it increasing traffic and awareness of your brand or product.
By now, you should have already decided on a web hosting service, domain and have WordPress on your website. Remember, your content should all be optimized to increase your organic searches. Install WordPress SEO plugins like Yoast SEO so you can see if your post is optimized and searchable. Try reaching the suggested SEO target score so your efforts won’t go to waste!

6. Remember to add content to your blog by uploading images, videos, links, and quotes
Don’t entirely focus on text when creating a WordPress site! Instead, make your website visually attractive by incorporating other forms of media like images and videos. Nowadays, many people don’t prefer or have time to read long-form content and simply scroll past it. Ensuring that your content is eye-catching and exciting can help you grab users’ attention, especially with so much competition going on.
So instead of posting blog posts that are heavy in text, try to break up the long content by adding related images. As an alternative, if you have the resources to turn the longer pieces of text content into videos, give that a try too. This way, you’re adding more visuals and sounds to your website, making it more immersive than relying solely on text.
Images aren’t only great to make your content more presentable. You can also add tags to pictures and videos with the right keywords and increase your SEO score! Don’t forget, you’re not only doing this for your readers but for the algorithm, as well.
Adding links, such as backlinks and internal linking, are great ways to increase your SEO score further. Unfortunately, not doing this is one of the common mistakes for those just starting to create a WordPress site for their business.
Don’t be afraid to backlink! As long as you’re pointing your users to an authoritative and non-competing website, you’re good to go. Doing this not only increase your SEO score, but you’re also supplementing more information to your readers, putting you in a position of reliability and trustworthiness.
7. Plan out the design of your blog by choosing colors and fonts that reflect your brand
When you’re managing an online store, it’s essential to stand out from all the competition. Consider using Amazon DSP and the other advertising services if you want your products to become more visible. With added marketing initiatives, your traffic will increase. Ensure your website is presentable and valuable for a user or potential customer.
The great thing about WordPress is it allows you to explore your creativity. It offers a ton of customization and colors to check out and select from, so see which ones fit your branding best. Choosing when you have a wide array of choices can get overwhelming, but don’t worry! You can choose from the templated designs available and modify them so that you may personalize your page with ease.
When you’re creating the design for your website, always remember to follow your business’ branding. Ensure this is well-defined before you work on any marketing materials, and that includes your website. If you have a creative team, ask for help developing a branding board that best describes your brand, or, as an alternative, build one out yourself. There are many free tools online that can help create branding boards. The purpose of your branding is so you can create cohesive material across all of your content, whether it be on your website, Amazon, or social media pages.
8. Include widgets like social media buttons and Google Adsense ads for added functionality
Widgets are a great way to promote other initiatives on your website. You could add widgets for many reasons. For example, you can build brand loyalty by sharing your social channels or generate a passive income on your website by promoting advertisements. Keep reading to learn how to use widgets on your website.
Invite your audience to find you on social platforms by adding social media buttons. By doing this, you can connect with them through the platforms that they often visit and inform them of updates and promotions from your brand. By doing this, you can increase your followers across social media platforms, better connect with your customers and build a community for your brand. In addition, you can run interactive content through social media like giveaways, surveys, or polls as a way to get feedback directly.
Another way to use buttons and budgets is by using add Google AdSense to your website. Enabling this option means you are allowing Google to run ads on your page. So even if monetizing your site from ads is not your main priority, there’s no harm in integrating this option and earning passive income in the meantime.
9. Customize your menus and sidebars for a more “personalized” feel
After choosing the right theme and font for your WordPress website, customize your site by modifying your menus and sidebar. If you’re going for a minimalistic but modern look, a menu will be enough. But if you want to maximize the space, you can always add both.
The menu can contain items that include, About, Services or Products, Location, Contact, Gallery, and Blog, among many others. Of course, you can always customize this with the items that you prefer to highlight.
Blog archives, categories, search bar, and social media links are typically included in the sidebar. You can also include your Instagram feed in this area, so users don’t have to click on your Instagram page to see how it looks.
Selling on WordPress opens up a lot of opportunities for you to promote your brand, especially if you sell on Amazon. Get creative by personalizing your website features for your brand. Develop the experience you want your customers to have when they encounter your brand.
10. Create pages for different sections of the blog like the “About” section or “Contact Me” page
Now it’s time to fill the page with valuable content that will benefit both you and your site visitors.
Although creating an “About Us” page is optional, we recommend putting some time and effort into building one. It’s an excellent way for you to familiarize your customers with you and your brand, allowing them to connect better with you. By including a “Contact Us” page, you can open communication between you and your customers for questions or concerns about their order or product. It allows you to remedy any issues and avoid your reputation from turning sour from an undealt problem.
You can include how you came about the business idea and what it was like getting started. Nowadays, consumers don’t just buy the product. More often than not, they buy the brand and the story behind it.
Your website should be where your customers learn more about your brand. You can be as honest or as selective as you’d like to be. While your social media pages will include many story-telling contents, you should consolidate everything on your website. Remember, your WordPress website has the advantage of sharing long-form content over trying to put all this information together on Instagram or Facebook pages.
Final Thoughts: Start Creating A WordPress Page For Your Amazon Business Today
Are you a seller currently using Amazon as your main e-commerce channel? Increase your reach by thinking outside the box and promoting your brand off the Amazon marketplace! Just because you’re selling on Amazon doesn’t mean you cannot take advantage of other platforms to increase your growth.
There are so many benefits to being able to promote your products and brand on an external e-commerce site. Working solely on Amazon can often feel limiting on what you can or can’t do creatively on their platform. Having a website off of their marketplace allows you to create the experience you want for your customers on your store and share it the way you want. Maximize your resources and consider building a WordPress site for your e-commerce store!